

Spring Cleaning Your Worm Bin: How and Why to Do It

As the seasons change and temperatures begin to rise, spring brings new energy to gardens — and to your worm farm.
After a slower winter period, worms become more active again. They eat more, reproduce faster, and begin processing food scraps at a higher rate. Spring is the perfect time to give your worm bin a simple reset. A little “spring cleaning” helps restore balance, improve airflow, and prepare your system for a productive composting season ahead.

🌱 Why Spring Is the Ideal Time
During winter, several things often happen inside worm bins:
Food breaks down more slowly
Bedding becomes compacted
Moisture can build up
Finished castings accumulate at the bottom
None of this is a problem — it’s part of the natural seasonal rhythm.
But when spring arrives, refreshing your system helps worms thrive again.
🪱 Step 1: Harvest Finished Castings
The first step in spring cleaning is removing finished vermicompost.
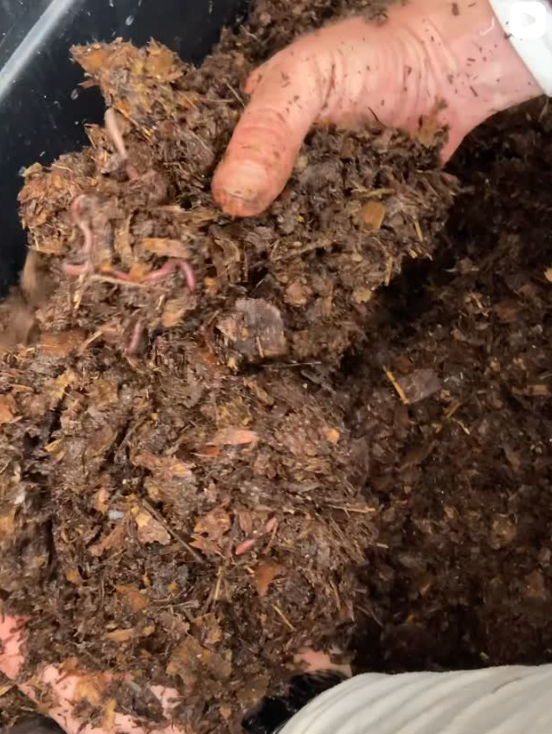
You’ll recognise ready-to-use castings because they are:
Dark and crumbly
Earthy-smelling
Mostly free of visible food scraps
To harvest them:
Move unfinished material and worms to one side of the bin.
Scoop out the finished compost from the other side.
Add fresh bedding where compost was removed.
Alternatively, you can use the migration method:
Place fresh food and bedding on one side of the bin.
Wait a few days for worms to move toward the food.
Harvest the worm-free compost from the opposite side.
🍂 Step 2: Refresh the Bedding
Over time, bedding materials break down and lose structure.
Spring is a great time to add fresh carbon-rich materials like:
Shredded cardboard
Newspaper
Dry leaves
Coconut coir
This improves:
Airflow
Moisture balance
Worm comfort
Think of it as replacing the worms’ mattress after a long winter.
💧 Step 3: Check Moisture Levels
A healthy worm bin should feel like a wrung-out sponge.
If the bin feels too wet:
Add more dry bedding
Mix the contents gently to improve airflow
If it feels too dry:
Lightly mist with water
Add moisture-rich food scraps
Spring warmth will increase evaporation, so finding the right balance now is helpful.
🍌 Step 4: Gradually Increase Feeding
With warmer temperatures, worms begin eating more again. You can slowly increase feeding amounts as long as food is being processed within about a week.
Signs your worms are ready for more food:
Scraps disappear quickly
Worm activity increases near feeding areas
New cocoons and young worms appear
Spring is when the worm population often begins expanding again.
🌿 Step 5: Inspect the Bin
Spring cleaning is also a good time for a quick inspection.
Check for:
Blocked drainage holes
Excess liquid at the bottom
Signs of pests or flies
Strong odours
A healthy worm farm should smell earthy and fresh. If anything seems off, adjusting bedding and feeding usually fixes the issue.
🌍 Preparing for the Growing Season
One of the best parts of spring cleaning your worm bin is the reward: fresh vermicompost.
Use it to:
Enrich vegetable beds
Feed seedlings
Boost pot plants
Improve garden soil before planting
Your worms have been quietly working through the colder months, and now their efforts can support new growth.
💚 The Compost Kitchen Approach
At The Compost Kitchen, seasonal maintenance is an important part of healthy vermiculture systems. Refreshing bedding, harvesting castings, and adjusting feeding ensures that worm colonies stay productive and balanced year-round.
Whether you manage your own worm farm or prefer to use a compost collection service, spring is always a time to reconnect with the cycle of soil and growth.
Final Thought
Spring is about renewal.
Plants wake up. Soil becomes active again. And your worm farm comes back to life.
A little attention now sets the stage for months of healthy composting ahead.
Because when worms thrive, gardens thrive too.


Comments