

How to Build a Simple DIY Worm Bin at Home

Starting a worm farm doesn’t require expensive equipment or complicated systems.
In fact, you can build a fully functional worm bin at home using simple, affordable materials—often things you already have.
If you’ve been thinking about getting started, this is one of the easiest entry points.

Here’s how to build your own DIY worm bin step by step.
🧰 What You’ll Need
You only need a few basic items:
🪣 Container
Plastic storage tub (40–60 litres is ideal)
A lid (to keep it dark and protected)
🔩 Tools
Drill or sharp object to make holes
🌱 Materials
Bedding (shredded cardboard, newspaper, or dry leaves)
A handful of soil or compost
Composting worms (red wigglers)
💡 Keep it simple—this is about function, not perfection.
🪱 Step 1: Prepare the Container
Your worms need airflow and drainage.
Drill holes:
Small holes along the sides (for airflow)
Holes at the bottom (for drainage)
Optional:
Place a tray underneath to catch any excess liquid
💡 Good airflow prevents smells and keeps the system aerobic.
🌿 Step 2: Add Bedding
Fill the bin about 50–70% full with bedding.
Use:
Shredded cardboard
Newspaper (non-glossy)
Dry leaves
Coconut coir
Lightly moisten the bedding so it feels like a wrung-out sponge.
💡 Bedding is your foundation—it creates a stable environment.
🪱 Step 3: Add Worms
Place your worms gently on top of the bedding.
They will naturally:
Move away from light
Burrow into the bedding
Begin exploring their new environment
Give them a day or two to settle before feeding heavily.
🍌 Step 4: Add Food Scraps
Start small.
Add a handful of:
Fruit and vegetable scraps
Coffee grounds
Crushed eggshells
Bury the food under bedding to:
Prevent smells
Avoid attracting flies
💡 Always let worms catch up before feeding more.
🪵 Step 5: Cover and Place the Bin
Put the lid on (with airflow holes) and place your bin in a suitable location:
✅ Shaded area
✅ Protected from rain
✅ Moderate temperature (not too hot or cold)
Good locations include:
Under a sink
On a balcony
In a garage or patio
🔍 Step 6: Maintain the System
Once your bin is set up, maintenance is simple:
✔️ Feed small amounts regularly
✔️ Add bedding often
✔️ Keep moisture balanced
✔️ Check weekly for smell and activity
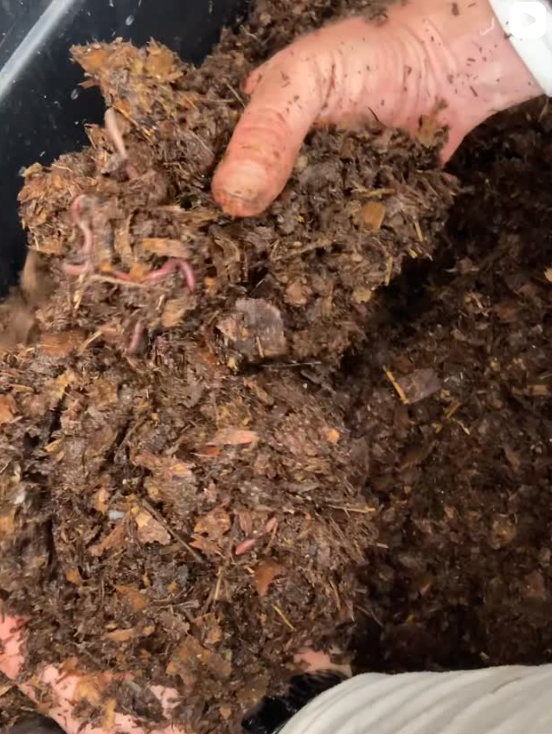
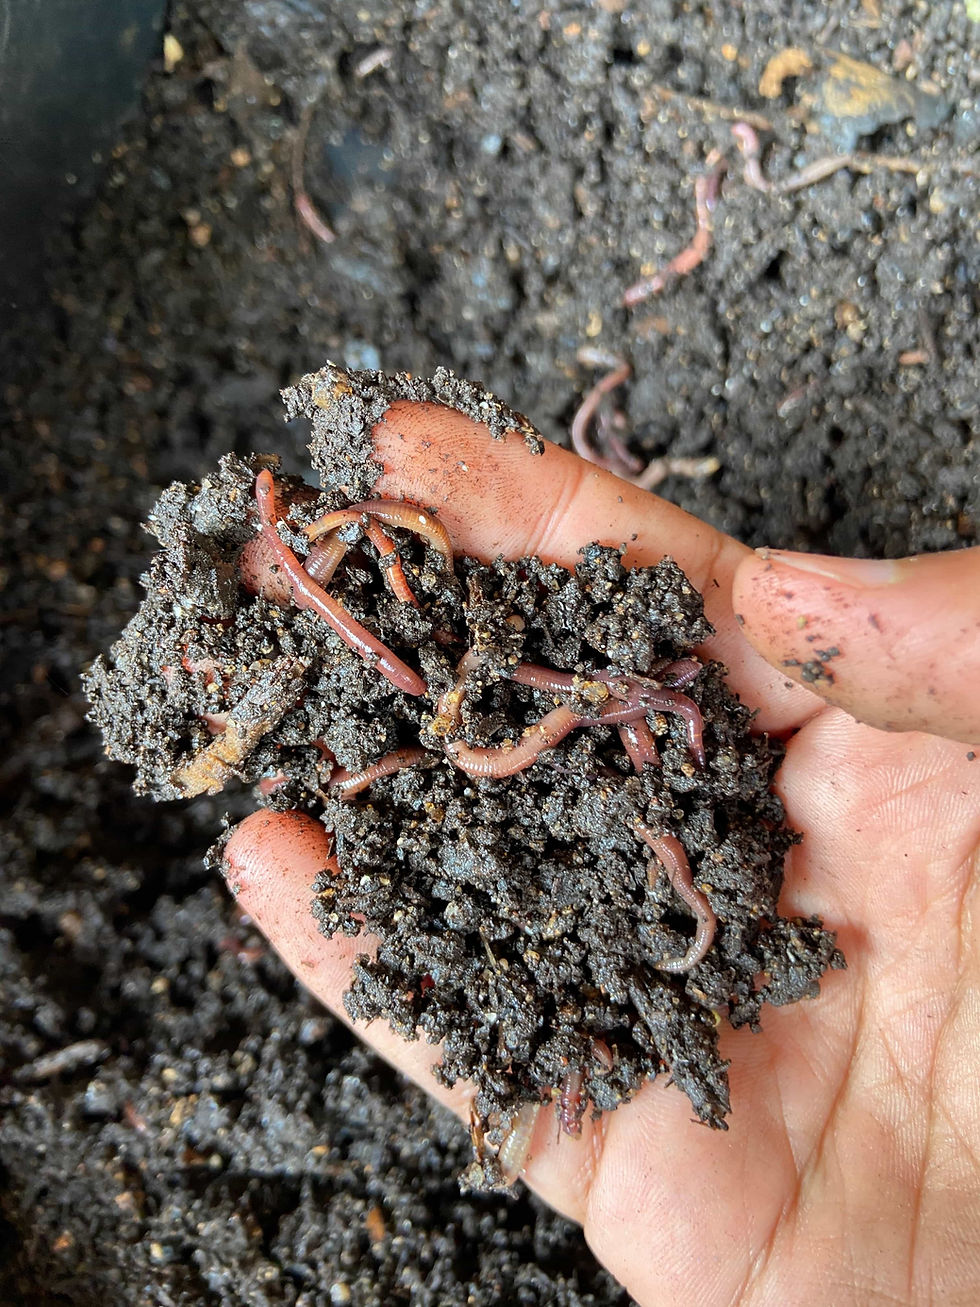
A healthy worm bin should:
Smell earthy
Have active worms
Break down food steadily
⚠️ Common DIY Mistakes to Avoid
❌ No drainage holes → water builds up
❌ No airflow → bad smells
❌ Overfeeding → rotting scraps
❌ Too much moisture → soggy bin
Most issues are easy to fix with more bedding and less food.
🌱 When Will You See Results?
First breakdown: 2–3 weeks
Noticeable compost: 6–8 weeks
Full system maturity: 2–3 months
Your bin improves over time as worms multiply and the ecosystem stabilises.
💚 Why DIY Matters
Building your own worm bin creates a deeper connection to the process.
You see:
How waste transforms
How systems balance
How small actions create real impact
And you realise that sustainability doesn’t have to be complicated.
🌿 The Compost Kitchen Can Help
If you’d prefer a ready-made setup or need guidance, The Compost Kitchen offers:
Worm starter kits
Ongoing support
Collection services
Community education
Whether DIY or done-for-you, the goal is the same:
Less waste. Healthier soil.
Final Thought
A worm farm doesn’t start with a perfect system.
It starts with a container, a handful of worms, and the decision to do something different with your waste. And from there, it grows—just like everything else in nature.

Comments